Your pool cage is more than just a screen enclosure; it’s a vital part of your backyard oasis. But over time, even the sturdiest aluminum and screen structures can start to show signs of wear and tear. Whether it’s fading paint, chipped coatings, or a dull appearance, refreshing your pool cage with a fresh coat of paint can make a world of difference.
This blog will guide you through everything you need to know about pool cage painting, from why it’s essential to how you can handle the project yourself (or decide if it’s time to call in the pros). By the end, you’ll be equipped with practical tips and insights to breathe new life into your screen enclosure and enhance your home’s value. Let’s get started!
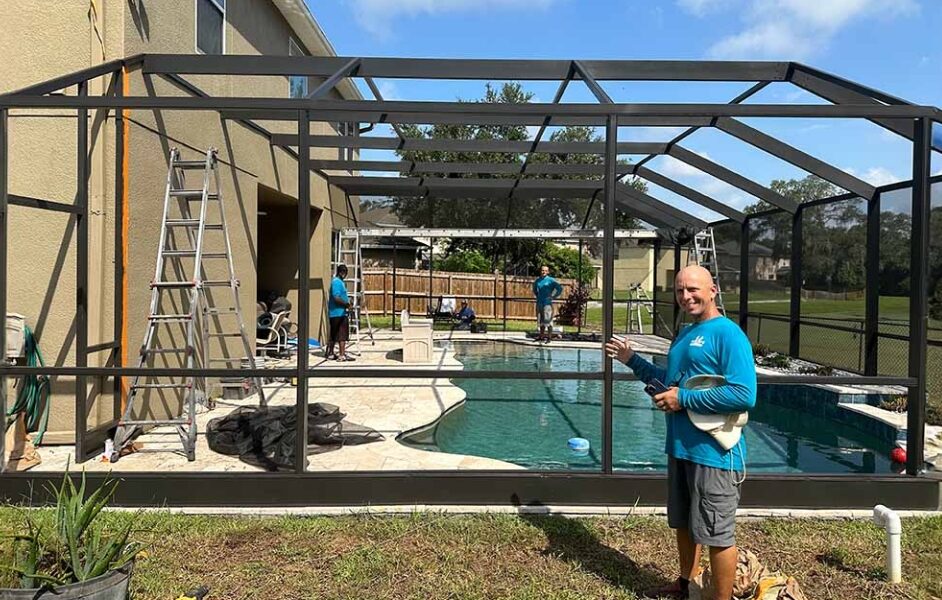
Why Should You Paint Your Pool Cage?
Pool cages withstand a lot—from harsh sunlight and humidity to rain and chlorine exposure. Over time, these elements can cause the paint on your pool cage to fade, peel, or corrode. Here’s why a well-maintained paint job matters:
1. Prolongs the Life of Your Pool Cage
Applying durable paint creates an extra layer of protection, preventing rust, corrosion, and other damage caused by moisture and UV rays.
2. Improves Aesthetics
A faded or chipped pool cage can make even the most stunning backyard look outdated. A fresh coat of paint can restore vibrancy and make your outdoor space more inviting.
3. Enhances Property Value
An attractive, well-maintained pool area can boost your home’s overall appeal and value, especially if you’re considering selling.
4. Saves Money in the Long Run
Regular maintenance, such as painting, prevents costly repairs or replacement by keeping your pool enclosure in good shape.
With the benefits of pool cage painting in mind, you might be wondering whether to handle the project yourself or hire a professional painter. To help you decide, let’s explore the DIY process.
How to Paint Your Pool Cage Like a Pro (DIY Style)
If you’re budget-conscious or love taking on home improvement projects, painting your pool cage yourself can be a rewarding experience. Follow these steps to achieve professional-level results:
Step 1: Plan and Prep the Area
Before picking up a paintbrush, preparation is key. A clean and organized workspace ensures the best results.
- Clean the Pool Cage
Wash your pool cage thoroughly with a mix of water and mild detergent or a power washer to remove any dirt, algae, or debris. Allow it to dry completely.
- Inspect for Damage
Check for loose screws, torn screens, or corroded areas. Repair any issues before painting to ensure durability.
- Remove Screens (Optional)
If possible, remove the mesh screens to make painting easier and to avoid staining them with paint.
- Protect the Surrounding Area
Cover furniture, decks, or your pool with plastic sheeting to prevent accidental paint splatter.
Step 2: Choose the Right Paint
Using the appropriate paint is crucial for long-lasting results. Look for the following:
- Aluminum-Specific Paint
Most pool cages are made of aluminum, so choose a paint designed for this material. Look for rust-resistant, UV-protected, and outdoor-durable options.
- Primer
A good primer ensures the paint adheres properly to the metal surface and lasts longer.
Pro Tip: Many DIY enthusiasts recommend high-quality, oil-based enamel paint for aluminum structures, as it provides a smooth, durable finish.
Step 3: Apply the Paint
When it comes to applying the paint, there are a few techniques to consider:
- Spray Paint
For an even finish and faster results, use a paint sprayer or aerosol cans. Test the sprayer on a small section to perfect your technique.
- Brush and Roller
If you don’t have access to a sprayer, a combination of brushes (for tight corners) and foam rollers (for flat surfaces) works well.
Tips for Success:
- Apply 1-2 coats of primer first, allowing it to dry completely before applying the paint.
- Use thin, even layers to prevent drips and streaks.
- Paint in favorable weather conditions (dry, non-windy days are ideal).
Step 4: Allow for Proper Drying Time
Once you’re done painting, give it ample time to dry and cure. This can range from 24–48 hours, depending on the paint and humidity levels.
Step 5: Reattach Screens and Clean Up
After the paint has dried, reattach any screens you removed and tidy up the area. Step back and admire your newly refreshed pool cage!
Should You DIY or Hire a Professional?
While painting your pool cage yourself can save money, there are situations where hiring a professional might make more sense:
DIY Is Suitable If:
- You have the time, patience, and skills to prep and paint properly.
- Your pool cage is small or medium-sized, making the project manageable.
- You already own or can rent equipment like paint sprayers.
Call the Pros If:
- The structure is large or complex, making it difficult to access certain areas.
- Severe corrosion or damage needs to be addressed.
- You prefer a faster, hassle-free experience with guaranteed results.
Professional painters bring expertise, tools, and safety equipment to the job, ensuring a flawless finish that stands the test of time.
Budget-Friendly Tips for Pool Cage Painting
Here are some ways to keep your painting project within budget without compromising quality:
1. Buy in Bulk
If your pool cage is large, purchasing paint and supplies in bulk often costs less per unit.
2. Look for Deals
Hardware stores frequently offer discounts on tools and paint during sales events.
3. Update Gradually
If the entire pool cage doesn’t need repainting, focus on the most worn areas first and tackle the rest later.
4. Ask a Friend
Team up with a DIY-savvy friend to save time and share expenses like equipment rentals.
Maintenance Tips for a Long-Lasting Finish
After putting in the effort to refresh your pool cage, here are some simple maintenance habits to keep it looking pristine:
- Clean the cage every 2-3 months to prevent dirt and mold buildup.
- Inspect for signs of wear annually and touch up any areas that need attention.
- Use a protective topcoat or sealant for extra longevity.
Create Your Dream Poolside Look
Whether you’re a seasoned DIY enthusiast or considering hiring professionals for the job, painting your pool cage painting lakeland fl is a valuable investment in your home’s aesthetic and longevity. By following these tips and steps, you can transform your screen enclosure into a polished, vibrant feature that enhances your outdoor space.
Not ready to tackle the project yourself? Connect with local professionals or browse recommendations at your nearest hardware store for the best tools and paints.
Now’s the time to prep, pick the perfect paint, and give your pool cage the makeover it deserves!

Source: How to Refresh Your Pool Cage with Professional-Grade Painting