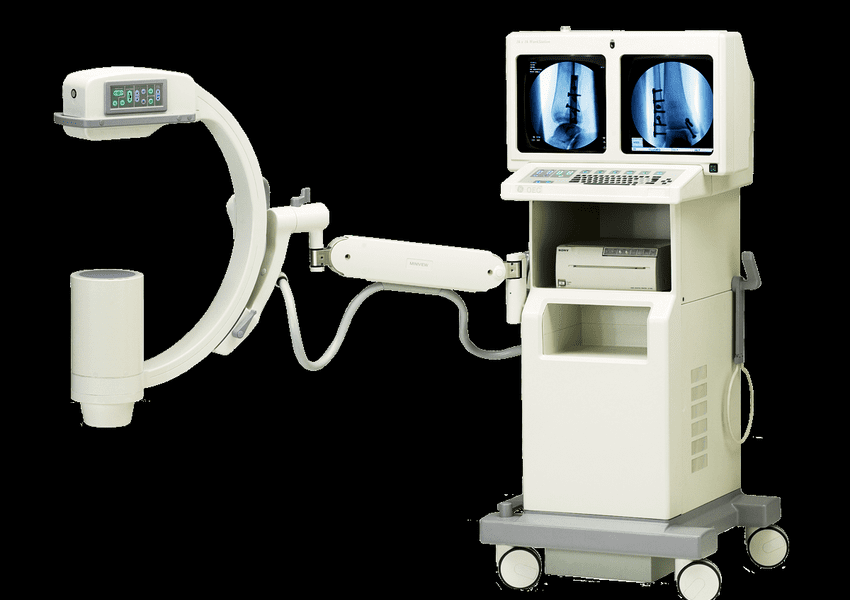
The OEC Mini C Arm is an amazing tool that doctors use to see inside the body without making a big cut. It’s like having super vision for bones! To keep this super vision sharp, we need to update the software, which is like giving the C Arm new lessons to learn. Don’t worry; updating software can sound tricky, but we’ll go through each step slowly and clearly.
Understanding Software Upgrades
Software upgrades are important because they make your Mini C Arm better. Each upgrade can help the machine work faster, be safer, and have new features. Imagine your favorite video game. When it gets an upgrade, you get new levels to play. That’s what software upgrades are like for your Mini C Arm.
Before You Start: Check with a Pro!
Before we start, it’s really important to talk to a professional. Upgrading the software on your OEC Mini C Arm is a job for someone who has learned how to do it safely. So make sure an adult knows how to start the process.
Steps to Upgrade Your OEC Mini C Arm System Software
Step 1: Prepare for the Upgrade
Before the upgrade, make sure your C Arm is ready. It’s like packing your backpack before a school day. You want everything you need to be in there. So, charge the system, back up all your important information, and have the upgrade files ready.
Step 2: Start Your System
Turn on the C Arm system just like you would start a computer. Wait for it to be fully ready. It’s like waiting for your TV to turn on before you can watch your favorite show.
Step 3: Begin the Software Upgrade
Here comes the main part. Open the upgrade software, where you will find instructions to follow. It’s like starting a new level in that video game. Follow the steps carefully, step by step, and don’t rush.
Step 4: Follow the Instructions
The upgrade will have its own instructions, just like a recipe. It might ask you to click on certain things or type something in. Take your time with each step, don’t miss any, and be as careful as you are when you’re trying to beat your high score in a game.
Step 5: Wait for the Upgrade to Complete
After starting the upgrade, your C Arm will be busy learning its new lessons. This might take some time. Be patient, just like when you’re waiting for a cake to bake in the oven. Don’t turn off the system or try to use it until it’s done.
Step 6: Finish Up
Once the upgrade bar fills up, and it says it’s done, just like the end of a TV episode, you can start to close things down. Your machine may need to restart, which is like giving it a good night’s rest before another big day.
Step 7: Check Everything
After the upgrade, make sure everything works like it’s supposed to. It’s like checking your answers after a test to make sure you did them correctly. If something isn’t right, ask the professional for help.
Conclusion
Upgrading the software on your OEC Mini C Arm is important. It’s like leveling up in a game. But just like a game, you need special skills to do it. Remember, always have a grown-up who knows about C Arms do this with you. Being careful and patient is key to a successful upgrade.
Congratulations! Now you know the steps to upgrade your OEC Mini C Arm system software. Stay curious, and always ask for a professional’s help when you need it. Keep your Mini C Arm’s software up to date, and it will keep giving doctors that super vision they need to help people feel better!